Da qui puoi accedere a qualsiasi informazione riguardante i nostri Corsi, puoi prenotare un appuntamento con uno dei nostri Docenti per avere ulteriori informazioni e/o chiarimenti, oppure acquistare i nostri Corsi In Presenza, oppure i Corsi OnLine.
PRENOTA
UN COLLOQUIO CON UN NOSTRO DOCENTE

ACQUISTA
IL TUO CORSO IN PRESENZA o ONLINE

SUBSTANCE PAINTER
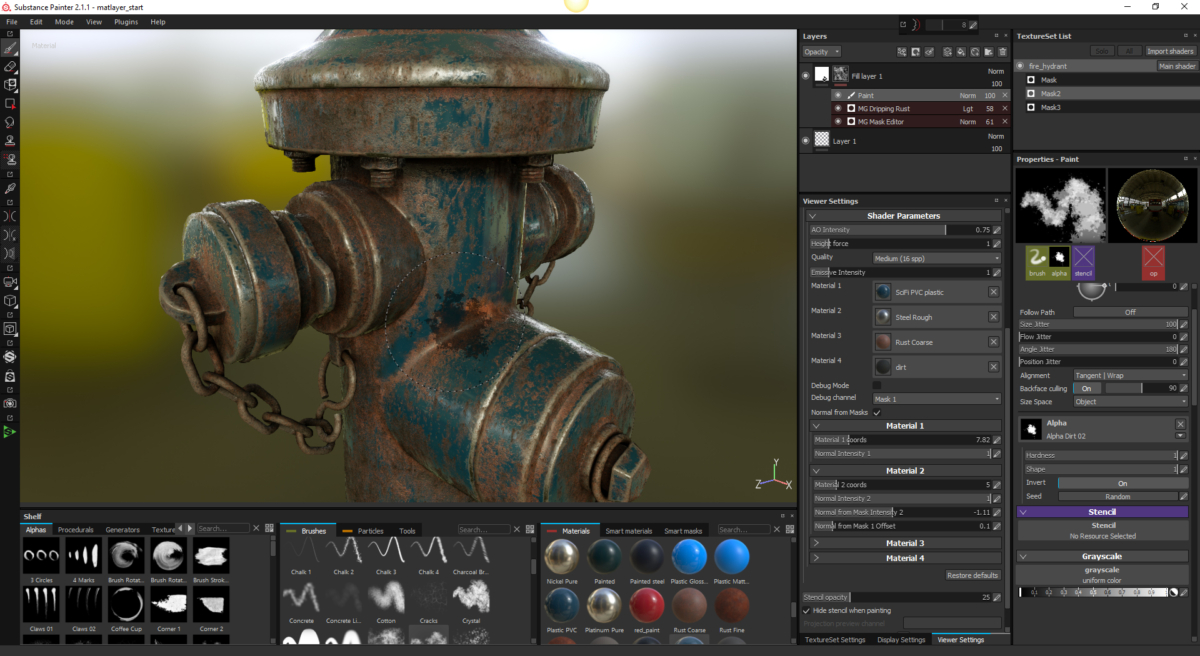
- Create Project
- Baking Additional Maps
- Navigating the Viewport
- Match by Name Baking
- Further Exploring the UI
- Painting Materials
- Using Layers
- Brush Presets
- Particle Brushes
- Other Brushes
- Using Fill Layers
- Creating Base Materials
- Using Masks
- Mask by Painting
- Mask by Polygon
- Mask by Bitmap
- Paint Effect
- Smart Masks
- Smart Materials
- Adding Details
- Painting Height
- Stamping Normal Maps
- Using Stencils
- Painting Emissive
- Particle Wear
- Wholesale Changes
- Final Touchups
- Exporting Maps
- Post Effects
- Using Iray
ILLUSTRATOR
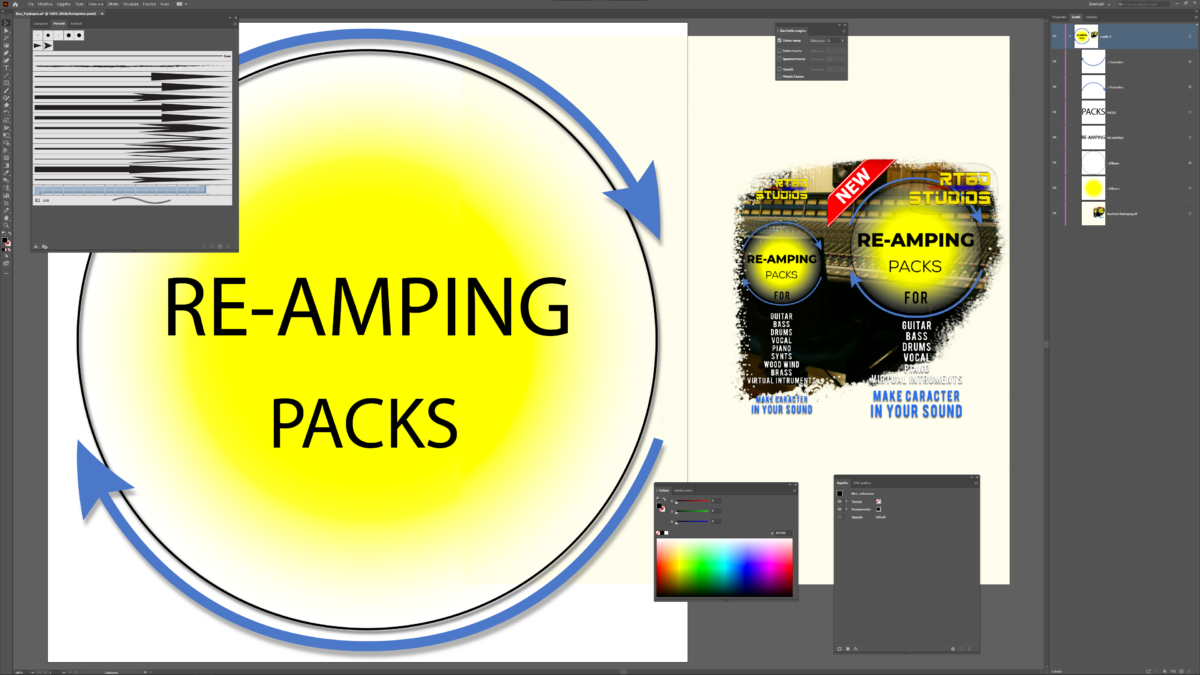
What Is Adobe Illustrator?
Understanding Illustrator CC
- Bitmap vs. Vector
- Start Workspace
- Understanding Paths
- Fills and Strokes
- Selections and Stacking Order
- Isolation Mode
- Creating New Documents
- Anatomy of a Document
- Multiple Artboards
- Illustrator Templates
- Saving Documents
Working in Illustrator
- Working with Panels
- The Control Panel
- Rulers and Guides
- Guides and the Grid
- Smart Guides
- Align Panel
- Hide/Show Edges
- Preview and Outline Modes
- Document Navigation
- Bounding Box
- Workspaces
Core Drawing Principles
- Drawing Basic Shapes
- Polygon Star Tools
- Drawing Modes
- Live Corners
- Open Path Tools
- Pencil Tool
- Paintbrush Tool
- Pen Tool
- Complex Paths
- Pen Modifier Tools
- Pen Tool Preferences
- Reshaping a Path Segment
- Smooth and Path Eraser Tools
Combining Paths and Shapes
- Joining and Average Paths
- Offset Path
- Clean up Command
- Compound Paths
- Compound Shapes
- Shape Builder Tool
- Pathfinders
- Split into Grid
- Blob Brush Tool
Creating Artwork
- Start the Owl Illustration
- Create the Owl’s Eyes
- Draw the Owl’s Beak
- Add the Owl’s Body
- Use the Pen Tool to Draw Wings
- Create the Legs
Working with Type
- Point and Area Text
- Character Panel
- Selecting Fonts
- Kerning and Tracking
- Paragraph Panel
- Text Threading
- Text on an Open Path
- Text on a Closed Path
- Convert Point Text to Area Text
- Touch Type
- Vertical Type Tools
- Creating Outlines
- What’s Next?
MARI
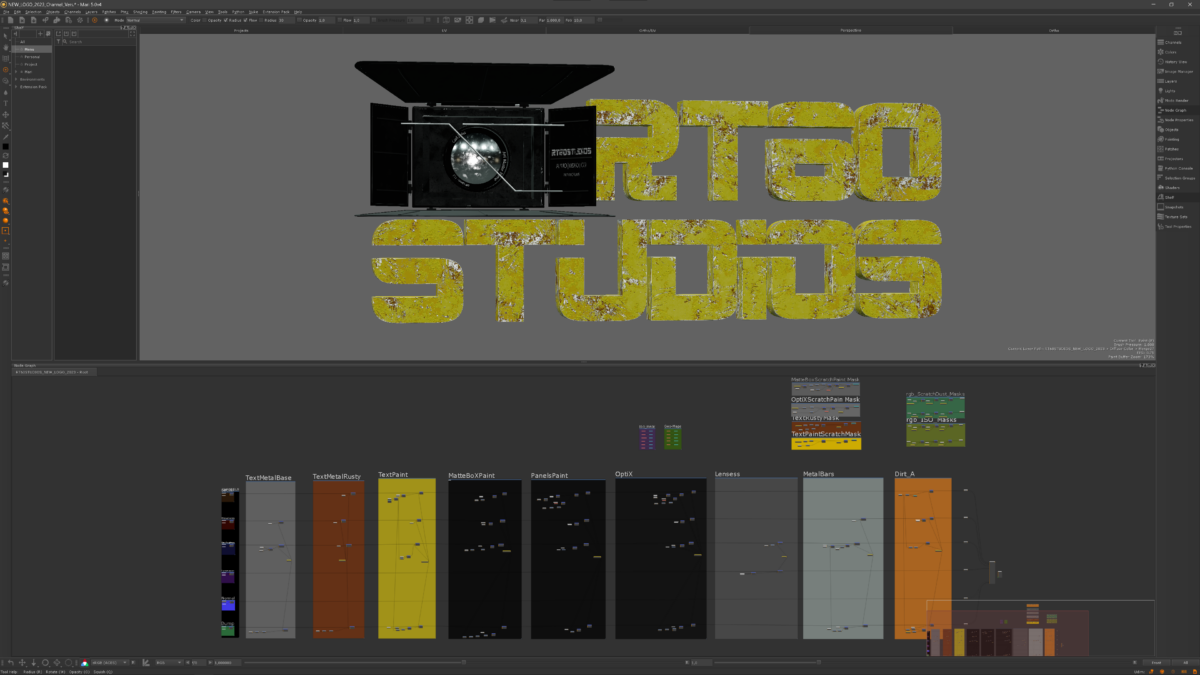
Project Setup and MARI Basics
- Working with Projects
- Touring MARI’s Interface
- Managing Geometry in a Project
- Working with Ptex Projects
- Customizing the Interface
- Navigating the MARI Canvas
- Understanding History in MARI
- Understanding Lighting in MARI
- Understanding Shaders and Channels
- Working with Patches in MARI
- Importing Texture Maps into MARI
MARI Workflow Essentials
- OpenColorIO and Color Space Management
- Understanding MARI’s Layer System
- Creating Layer Masks and Layer Mask Stacks
- Creating Adjustment Layers and Adjustment Stacks
- Creating Procedural Layers
- Sharing Layers in MARI
- Using MARI’s Node Graph in Basic View
- Using MARI’s Node Graph in Advanced View
Selecting and Painting in MARI
- Selecting and Hiding in MARI
- Paint Buffer Basics
- Painting and Erasing in MARI
- Projection Masking
- Customizing Brushes in MARI
- Importing Photoshop Brushes into MARI
- Painting and Symmetry in MARI
- Using the Paint Through Tool
- Using Stencils in MARI
Transforming Paint
- Transforming Paint in the Buffer
- Using the Towbrush
- Cloning Paint in MARI
- Understanding MARI Filters
Rendering, Baking, and Texture Output
- Using MODO Bakers in MARI
- Using the MODO Renderer Inside MARI
- Sending a MARI Project to MODO for Rendering
- Exporting Textures
- Working with MARI Sessions
- Archiving MARI Projects
PHOTOSHOP
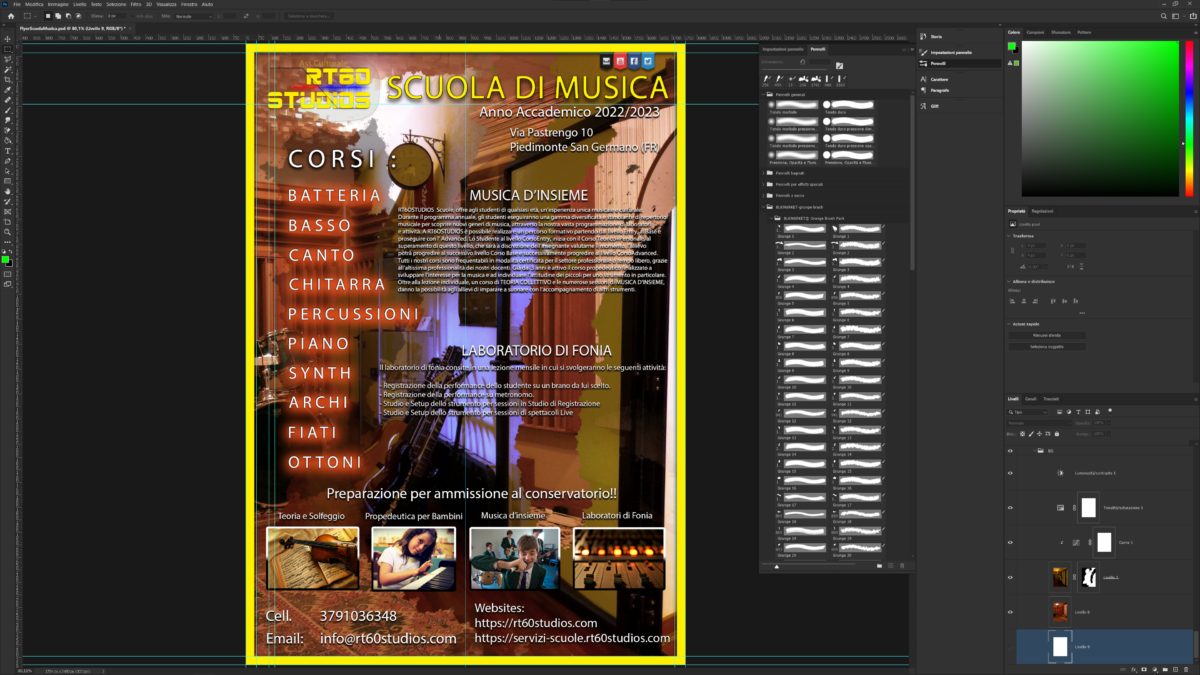
Getting Started with Photoshop CC
- Creating New Documents
- Mac and Windows Differences
- Artboards
- Introducing Panels
- Moving and Customizing Panels
- Customize Panels and the Toolbar
- Keyboard Shortcuts and Menu Commands
- Using Workspaces
- Interface Shading Options
- Screen Modes
- Working with Multiple Documents
- Tab Preferences
- Document Navigation
- Preferences Dialog Box
Digital Imaging Concepts
- Understanding File Types
- Reviewing RAW Formats
- Bitmaps vs. Vectors
- Understanding Resolution
- Resize vs. Resample Images
- Print Size
- Color Modes
Making Selections and Basic Compositing
- Selection Tool Overview
- Practical Marquee Selection
- Feather a Selection
- Copy and Paste
- Scaling the Image
- Modifying Selections
- Quick Selection and Magic Wand Tools
- Select Subject
- Select and Mask Workspace
- Quick Mask Mode
- Color Range Command
- Focus Area
- Saving Selections
Layers and Masks
- Undo and Redo
- Background Layer
- Opening Images to Layers
- Layer Basics
- Selecting Layers
- Layer Panel Options
- Locking Layers
- Distribute and Align Layers
- Layer Groups
- Layer Opacity Options
- Understanding Blend Modes
- Layer Mask Basics
- Gradient Layer Masks
- Layer Styles
- Flatten Layers
Crops, Transformations, and Warps
- Using the Crop Tool
- Non-destructive Crops
- Crop to Add Canvas
- Canvas Size Dialog Box
- Perspective Crop Tool
- Straighten an Image
- Transform
- Content-aware Scale
- Puppet Warp
- Perspective Warp
Adjustments
- Reviewing the Histogram
- Adjustment Layers
- Levels Adjustment
- Adjustment Layer Mask
- Clipping to the Adjustment Layer
- Curves Adjustment
- Hue/Saturation Adjustment
- Vibrance Adjustment
- Photo Filter Adjustment
- Remove a Color Cast
- Black and White Adjustment
Localized Adjustments and Photo Retouching
- Toning Tools
- Spot Healing Brush
- Healing Brush
- Patch Tool
- Content-aware Fill
- Content-aware Move
- Eraser Tools
- Sharpening an Image
Type, Guides, and Grids
- Type Tool
- Area Type Tool
- Displaying Rulers
- Using Guides
- Add a Guide Layout
- Smart Guides
- Showing the Grid
- Grid Preferences
Libraries, Output, and Updates
- Creative Cloud Libraries
- Shared Libraries
- Saving Files
- Quick Export
- Keeping Photoshop Updated
- Conclusion
KATANA
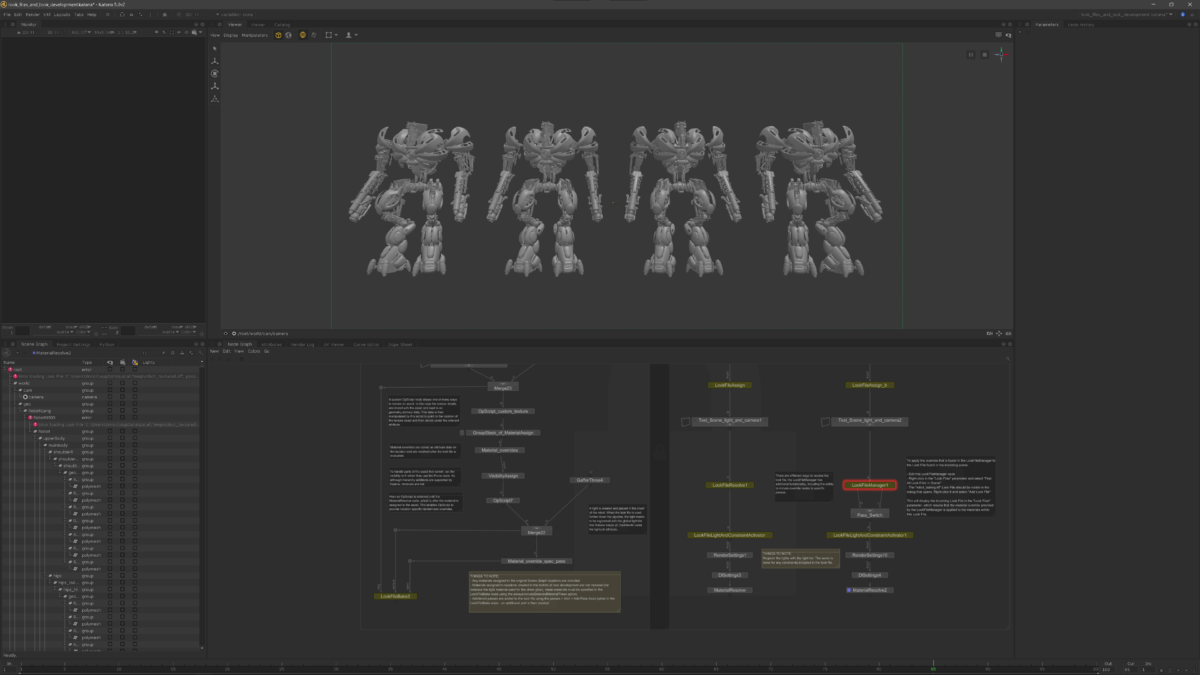
Katana Essentials
- Creating the Scene
- Adding Materials to Geometry
- Implementing Light
- Applying an Asset to the Scene
- Discussing the Nodegraph Tab
- Exercising the Monitor Tab
- Applying Parameters Tab
- Discussing the Scenegraph Tab
- Looking at the Viewer Tab
- Focusing on the Catalog Tab
- Discussing the Attributes Tab
- Prepping the Alley Scene
- Exploring Curves and Expressions
- Creating Groups and Backdrop Nodes
- Creating Collections
- Implementing Render Filters
- Introducing Look Development
- Modifying Materials
- Prune and Isolate
Understanding a Katana Pipeline
- The Katana Pipeline and Summary of Lookfiles
- Creating a Master Root Lookfile and Basic Render Settings
- Baking and Testing Your Master Root Lookfile
Creating a Katana Template
- Why the Template Model?
- Creating a Look Development Template
- Creating and Utilizing Parameter Expressions
- Creating a Macro
- Creating and Using Live Groups for a Lighting Rig
- Creating a Shelf Item to Use a Created Template
Look Development: Preparing Assets for Lighting
- Creating a Flexible Look Development Scene
- Using Custom CEL to Define Collections and Assigning Materials 1
- The Material Stack and Material Inheritance
- Creating and Using a Master Material Lookfile
- Setting up Cameras, Lighting Rigs, and Turntables
- Arnold Material Overview and Baking a Lookfile
Lighting with Arnold
- Lighting Template Overview and Loading Assets
- Creating and Editing a Skydome
- Creating Distant Lights and Rigs
- Arnold Quad Lights
- Arnold Spot Lights
- Arnold Point Lights
- Loading Lookfiles and Editing Incoming Materials
- Interactive Render Filters
MAYA
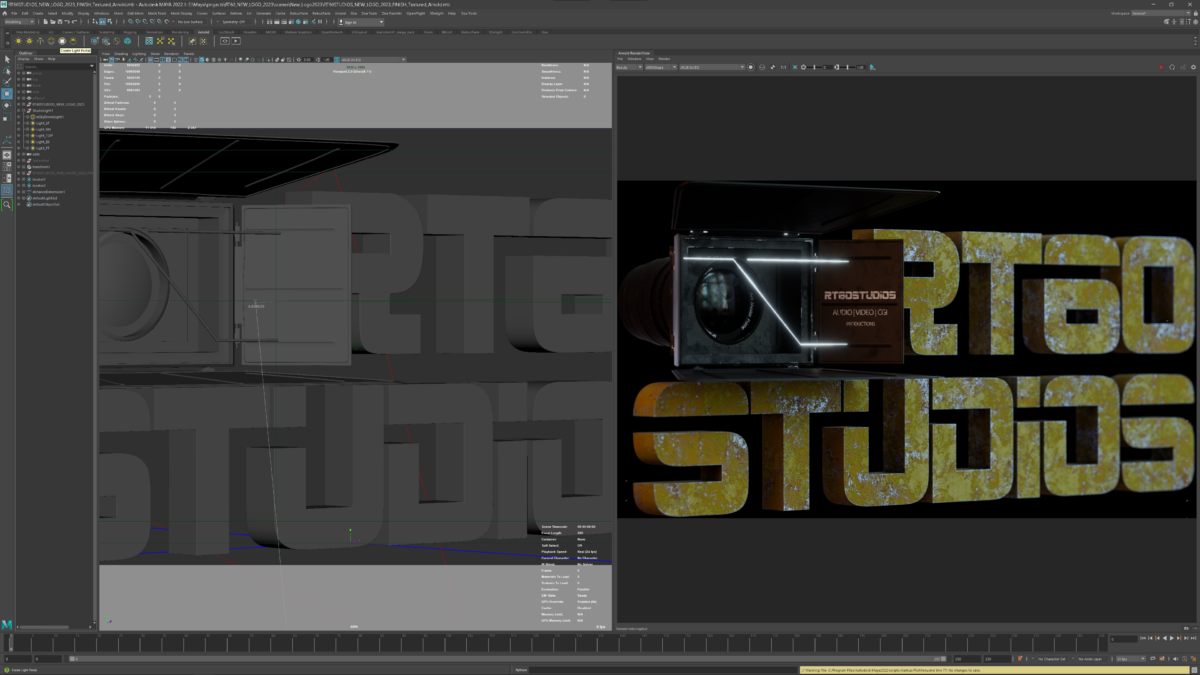
Getting Started with Maya
- Interface Tour
- Navigating the Viewport
- Creating a Maya Project
- Selecting and Transforming Objects
- Organizing Scene Objects
- Geometry Basics
Modeling Basics
- Adding Reference Images
- Building the Outer Shell
- Finishing the Shell
- Modeling the Core
- Finishing the Core Geometry
- Modeling the CPU
- Creating the Tanks
- Modeling the Undercarriage
Adding Detail
- Adding Engine Detail
- Blocking out the Eyes
- Building the Brow Structure
- Combining the Eyes
- Finishing the Eyes
- Creating the Guns
- Modeling the Central Eye
- Finishing the Central Eye
Finishing the Framework
- Duplicating Symmetrical Details
- Modeling the Top Framework
- Detailing the Top Framework
- Finishing the Top Framework
- Building the Repulsor Track
Completing the Model
- Starting the Repulsor9m
- Modeling the Repulsor Frame
- Modeling the Repulsor Base
- Finishing the Repulsor Base
- Placing Repulsors
- Adding Wires and Cables
- Final Naming and Organization
HOUDINI
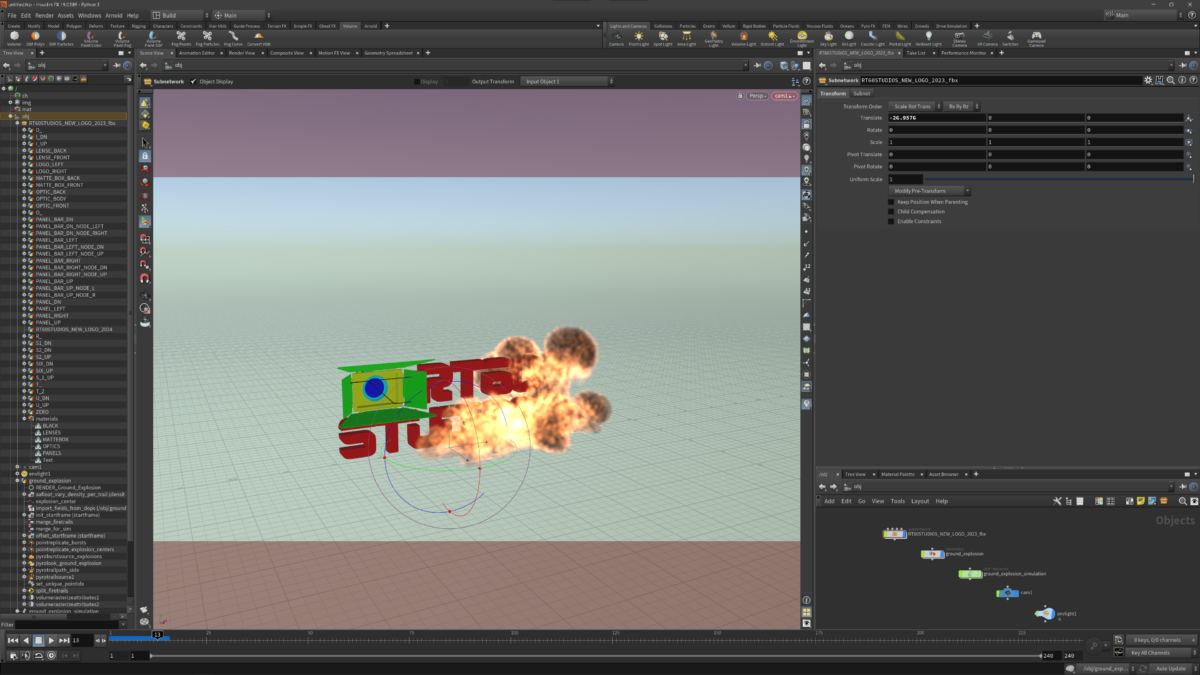
Basic Programming Concepts
- Variables
- Attributes
- Flow Control
- Functions
- Arrays
- For Each Nodes
VEX Applied in the Geometry Context
- Basic Form
- Outsource
- CopybyReference
- Polylines
Searching and Manipulating
- Nearpoints
- Neighbour
- Pointclouds
- Manipulation
- Additional Options
Building the Initial Setup
- The First Gateway
- Pivot for 1st Corridor
- Create a Box with VEX
- Random Corridor Pieces
- Combine Pieces
Building the Corridor Network
- A Set of Corridors
- Control Distance
- Control Proximity
- VDB Conversion
Segmentation and IDs
- Mark Corridors6m
- Custom Attribute Transfer
- Floors and Ceilings
- Shared Corridor ID
Interactive Gates
- Create the Gate Points
- Gate Placement and Opening
Gateway Design
- Grate Modelling
- Gateway Floor
- Gateway Ceiling
- Gateway Set Dressing
- Wire Pattern
Corridor Design – Preparation
- Panel Segmentation
- Endpanel Geometry
- Pipe End Segment
- Middle Section and Adjustments
Corridor Design – Customizing
- Cooling Design
- Window Design Pivot Points
- Window Design Boolean and Containers
- Panel Design Divide Factor
- Panel Design Width Adjustment
- Overall Width Adjustment
Corridor Design – Floor and Ceiling
- Design Specific Elements
- Grate Section
- Floor Wire Pattern
- Ceiling Constructs
- Procedural Cables
- Procedural Cables
- Dynamic Cable Alteration
- Final Touches in the Corridor
Finding a Path
- Material Style Sheet Preparation
- Material Distribution
- Light Instancing
- Random Path Concept
- Generating Vectors
- Building the Path
- Camera Path and Dynamic Instances
- Light Control
- Final Thoughts
ZBRUSH
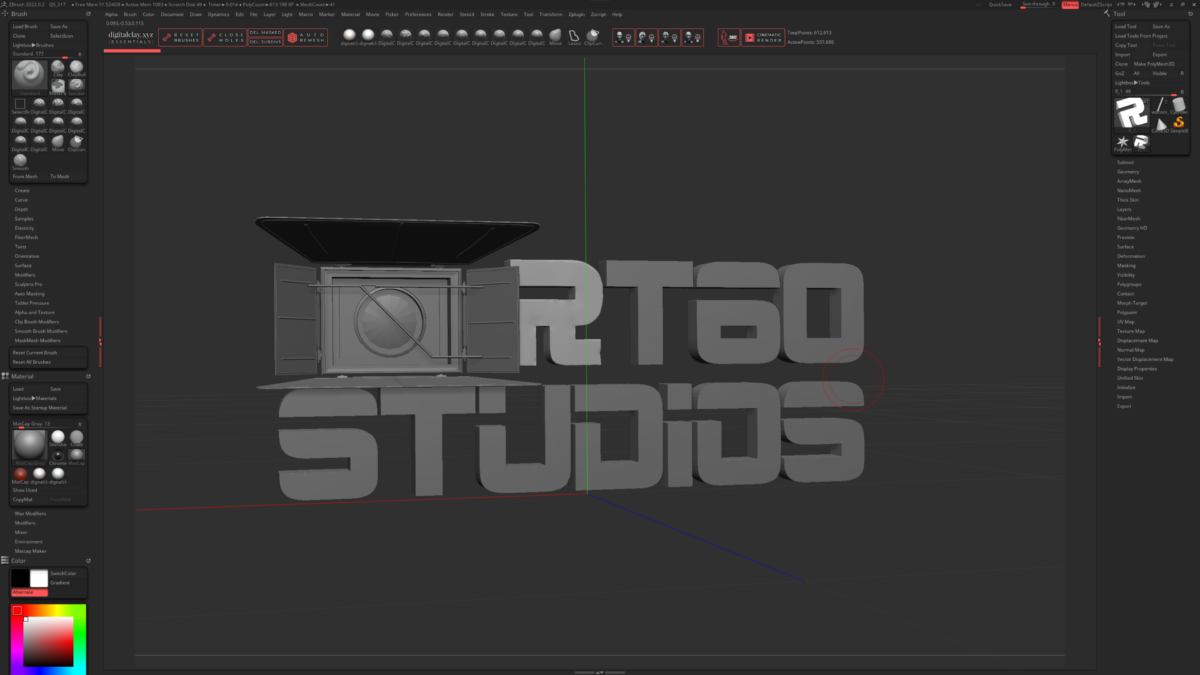
Zbrush Start
- Basic Primitives
- Basic Structure
- Detailed Block In
- Details on the Top
Designing the Unknown
- Building the Hinge
- Building the Inside
- Refining the Inside
- Refining the Legs
- Smoothing out Details
Preparing for Zbrush
- Exporting with Different Methods
- Making Mesh Work Inside Zbrush
- Dynameshing and Filling Holes
- Cleaning up the Back and Legs
- Remaking the Hinge in Zbrush
- Custom Menus, Brushes, and Hotkeys
Sculpting Fundamentals
- Basic Stone Sculpting
- Adding Large Details to Stone
- Sculpting the Inside
- Sculpting the Top
- Sculpting the Metal Border
- Sculpting the Legs
Sculpting Details
- Adding Detailed Cracks
- Adding Structure Details
- Making a Gold Coin
- Making a Coin Pile with Nano Mesh
- Detailing the Interior and Hinge
- Sculpting the Central Diamond
Creating a Base Mesh
- Making a Plan
- Blocking out the Body with ZSpheres
- Modifying Topology with ZModeler
- Preparing to Sculpt
- Bat Goblin Challenge 1
Creating the Initial Sculpt 2
- Beginning the Sculpt
- Modifying the Facial Shape
- Sculpting the Ears
- Sculpting the Torso
- Sculpting the Arms
- Sculpting the Hands
- Sculpting the Abdomen
- Sculpting the Legs and Feet
- Bat Goblin Challenge 2
Detailing and Stylizing
- Refining the Face Sculpt
- Adding Eyes and Finishing the Face
- Creating the Beard
- Modeling the Hair
- Stylizing the Head
- Stylizing the Torso
- Stylizing the Arms and Hands
- Stylizing the Legs
- Bat Goblin Challenge 3
Sculpting the Clothing
- Building the Shirt and Pants Base
- Finishing the Shirt and Pants Base
- Sculpting the Pants
- Sculpting the Shirt
- Building the Pauldron Base
- Sculpting the Pauldron
- Creating the Gloves and Boots
- Creating the Straps
- Bat Goblin Challenge
Adding Accessories
- Creating the Shoulder Strap
- Detailing the Gloves
- Building the Pauldron Clip and Ring
- Adding Runes to the Pauldron Clip and Ring
- Bat Goblin Challenge
Final Detailing
- Adding Patches and Stitches
- Adding Wear and Tea
- Finishing the Belt
- Blocking out Colors
- Bat Goblin Challenge

