Da qui puoi accedere a qualsiasi informazione riguardante i nostri Corsi, puoi prenotare un appuntamento con uno dei nostri Docenti per avere ulteriori informazioni e/o chiarimenti, oppure acquistare i nostri Corsi In Presenza, oppure i Corsi OnLine.
PRENOTA

ACQUISTA

FLAME
Level 1
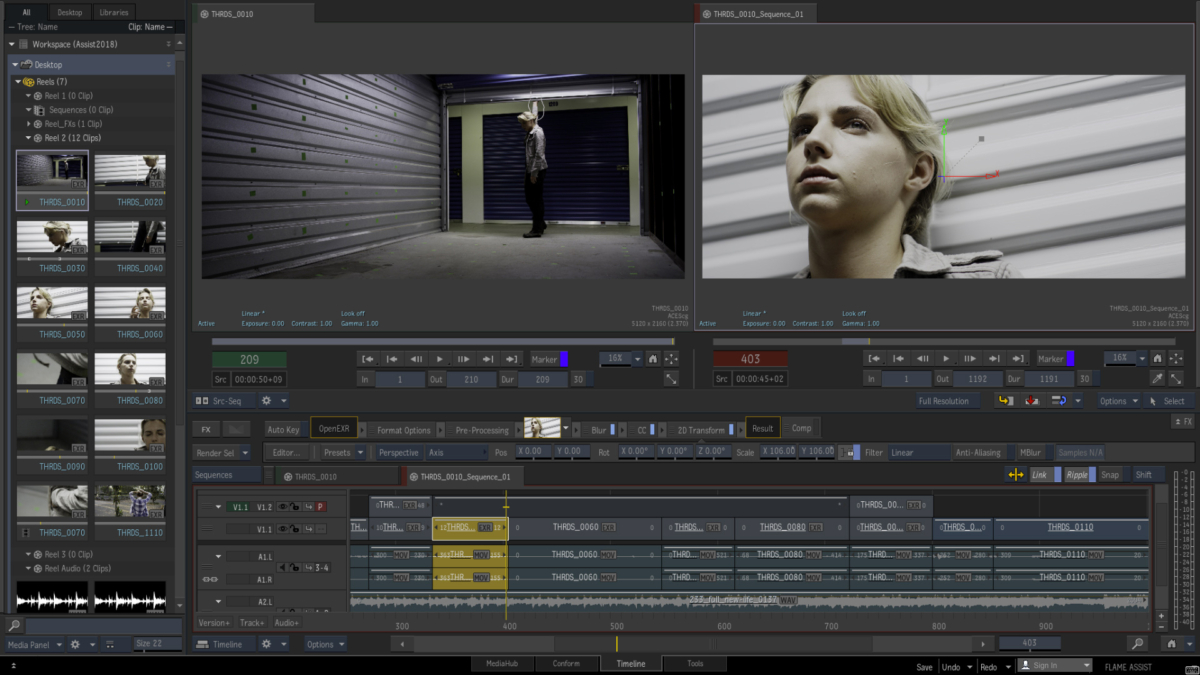
Courses are designed for editors and artists with little or no previous exposure to Autodesk Flame, as well as for those who are self taught and wish to improve their workflow. The goal is to enable participants to quickly learn the essential skills needed to use Autodesk Flame in their daily work and understand the concepts that will allow them to expand their skills while working.
Flame L1: Timeline A-Z – Editing/Compositing
Key interface components, the Flame desktop, media management, conform and editing essentials, Batch essentials, color correction, keying, introduction to tracking, compositing workflow in the Timeline and Effect tabs, as well as an introduction to Action.
Grading L1.1: Color Management and Grading in Flame
This Course is for Flame users who want to expand their skills to color finishing.
Topics include: color policy, color transforms for input, working, display and output color spaces, grading workflow, grading and selection techniques.
Grading L1.2: Workflow and Grading Basics for Colorists
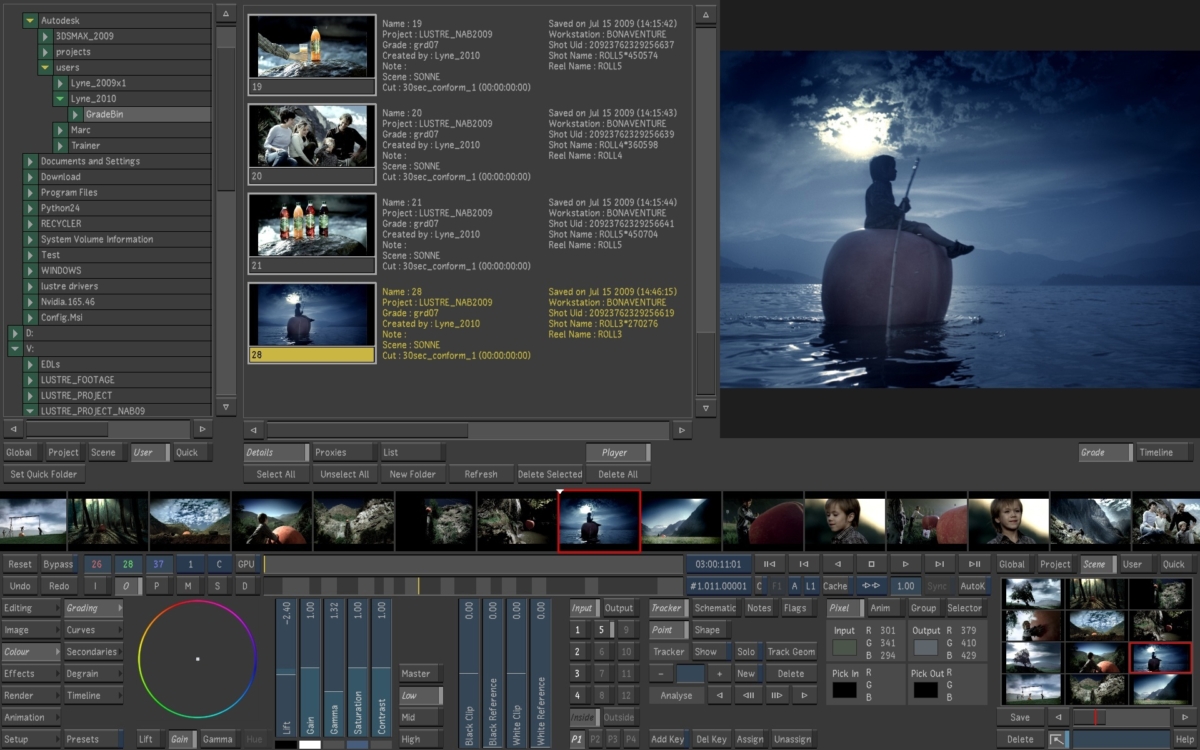
Courses are designed for colorists with little or no previous exposure to Lustre, and for those who are self-taught and wish to improve their workflow.
The goal is to enable participants to quickly learn the essential skills needed to use Autodesk Lustre in their daily work as well as understand the concepts that will allow them to expand their skills while working.
Topics include: Lustre project, media management and workflow, working in log or lin, the grading toolset, timeline, tracking, geometries and animations. Tips to speed up a grading session. Color grading techniques.
Level 2 Advanced Compositing
The course focuses on advanced compositing and finishing techniques for intermediate and senior-level users. The goal is to provide workflow and compositing techniques that enable editors and compositors to master Flame and to raise the quality and effectiveness in their daily work. The course explores compositing in 3D space, working with different 2d and 3d objects, advanced keying, advanced selective workflow, advanced graphics, tracking techniques and animation as well as extensive 3D features and scene-based effects in Action..
Level 3 Advanced Techniques
This course focuses on advanced techniques and new features for intermediate to advanced Flame users and particularly those who wish to take full advantage of Flame Premium. The topics include use of the various batch FX nodes with specific attention to the Matchbox shader nodes, lighting, 3D integration and 3d render passes, as well as timeline and batch effects and grading workflow.
LUSTRE
-Lustre Workflow
-
Image Processing Pipeline
-
Setting Up Users and Projects
-
Monitor Calibration
-
Applying Print LUTs
-
Editing
-
Rendering Proxies
-
Removing Dust
-
Repositioning Shots
-
Applying Input LUTs
-
Colour Grading
-
Using Sparks
-
Animating Colour Effects
-
Outputting the Result
-Interoperability Workflows in Lustre
-
About Source Grading and Sequence Grading
-
Basic Interoperability Workflow
-
Important Source Grading Considerations
-
Saving a Sequence for Grading in Lustre
-
Importing the Sequence from Flame
-
Displaying and Editing the Sequence in Lustre
-
Rendering and Exporting in Lustre
-
Proxy Rendering
-
-
-
Advanced Interoperability Workflows
-
RAW Media Interoperability Workflow
-
ProRes Interoperability Workflow
-
-
Detailed Workflow
-
Exploding the Lustre Node
-
Rendering the Batch Effects
-
Setting Up a Dual DVI Configuration
-
SDI Preview in a Dual Application Workflow
-
Disabling Automatic SDI Switching
-
Connected Colour Workflow Considerations
-Project Management
-
Configuring System Settings
-
Project Configuration
-
Project Configuration Settings
-
User Configuration
-
User Configuration Settings
-
Loading Users and Projects
-
Working With Scenes
-
Working with Cuts and Grades
-
Setting Up the User Interface
-
Working with Templates
-Basics
-
Starting and Exiting Lustre
-
Understanding the Lustre User Interface
-
Resetting Parameters
-
Bypassing Menu Parameters
-
Undoing and Redoing Actions
-
Confirming and Cancelling Actions
-
Assigning Notes to Shots
-
Flagging Shots
-
Creating Shot Groups
-
Copying Parameters with the Selector
-
Copying and Pasting Grading Parameters Between Grading Stages
-
Assigning Values With the Standard Lustre Calculator
-
Using Grade Bins
-
Using the Expanded Grade Bin
-
Using Audio
-
Using Text
-Calibration and Working Space
-
Logarithmic and Linear Colour Spaces
-
Using the ACEScc and ACEScct Colour Spaces
-
Monitor Calibration Workflow
-
Adjusting Black Level and Picture Settings
-
Selecting the Project Colour Space
-
Calibrating a Monitor
-
Calibrating for Dual-Head Mode
-
Applying LUTs for Viewing (Print LUTs)
-Browsing for Footage
-
Natively Supported Media File Formats
-
Wiretap Gateway Supported Media File Formats
-
MediaReactor Support
-
GPU RAW Media Decoding
-
End-to-end 4K and UltraHD Support
-
Accessing the File Browser
-
Loading Clips to the Library
-
Matching Shots
-Transcoding
-
Transcode Workflow
-
Transcode Options
-
Transcode Format Settings
-
Transcode Colour Settings
-
Transcode LUT Options Settings
-
Transcode Resize Options
-
Transcode Output Settings
-
Transcode Versioning
-
Transcoding Template
-Conform
-
Working with EDL, ALE, and Cutlist Files
-
EDL Display and Functionality
-
EDL and Keycode Assembly Workflow
-
Example of a Possible CDL Workflow
-
Adding CDL Data to an EDL File
-
Importing an EDL, ALE, or Cutlist File
-
Stereo 3D Data in EDL Conform
-
Stereo 3D Post Render Shift Data in EDL Conform
-
Assembling an EDL
-
Match Grade
-
Exporting Shots to an EDL
-
Keycode Assembly
-
Metadata Maintained for Missing Shots
-
-
Colour Decision List (CDL)
-
CDL Menu
-
CDL Parameters in the Selector
-
Loading CDL Data in the EDL Panel
-
CDL Grading Using the Keypad
-
-Editing
-
Representing the Timeline
-
Accessing the Edit Menu
-
Editing with the Storyboard
-
Trimming from the Edit Menu
-
Changing Playback Speed
-
Replacing Shots
-
Creating Dissolves
-
Adding a Virtual Black Clip using the Storyboard
-
Multi-Layer Timeline
-
Editing in the Timeline
-
Working With Containers, Matte Containers and Multi-channel Clips
-
Trimming Elements
-
Transitions
-
Displaying the Multi-Layer Timeline
-
Rendering the Timeline
-
Modifying the Timeline’s Starting Record Timecode
-
Performing a Confidence Check
-
Using Scene Detection
-Playing, Viewing, and Sorting Shots
-
Playing Shots
-
Viewing Reference Images
-
Lustre Second Screen
-
Panning and Zooming the Image
-
Setting Image View Options
-
Navigating through Shots
-
Storyboard Viewing Options
-
Setting the Viewing Options
-
Timeline Sort Mode
-
Caching Frames to Memory for Real-Time Playback
-
Player Hotkeys
-Removing Dust
-
Preparing for Dust Removal
-
Removing Dust Manually
-
Removing Dust Automatically
-
Single Frame Dust Removal
-
Working with Boxes
-
Infrared Channel Dust Detection
-
Options for Saving and Loading Dust Removal Metadata
-
Rendering the Result
-Removing Grain
-
Analysing the Frame
-
Viewing the Result
-
Working with Sub-Region Boxes
-
Post-Analysis Clean-Up
-
Caching the Result
-
Removing Grain with Secondaries
-
Copying Degrain Information
-
Saving and Loading Degrain Presets
-Repositioning Images
-
Adjusting the Frame Aspect Ratio
-
Accessing the Reposition Menu
-
Reframing an Image
-
Flipping or Flopping a Shot
-
Tracking Repositioned Shots
-
Animating Reposition Values
-
Setting Rendering Quality
-Input LUTs
-
Accessing the Input LUT Menu
-
Importing a LUT File
-
Applying an Existing Input LUT
-
Linear Mode: Creating Conversion LUTs
-Colour Grading Basics
-
Colour Grading Workflow
-
Colour Grading Concepts
-
Accessing Colour Grading Menus
-
GPU Acceleration
-
Colour Grading With the Control Surfaces
-
Viewing Multiple Shots
-
Reference Images
-
Viewing Proxies
-
Analysing the Image
-
Saving and Loading Presets Using the Presets Lists
-
Colour Grade Animation
-
Grade Bin Storage
-
Colourist Multi-Layer Timeline
-Primary Colour Grading
-
Accessing the Grading Menu
-
Logarithmic Mode: Modifying the Brightness
-
Logarithmic Mode: Improving Contrast
-
Linear Mode: Selecting Levels of the Image
-
Linear Mode: Modifying Lift
-
Linear Mode: Modifying Gain
-
Linear Mode: Modifying Gamma
-
Linear Mode: Modifying Saturation
-
Linear Mode: Modifying Contrast
-
Linear Mode: Setting Black Clip and White Clip
-
Matching Colours
-
Autograding Shots
– Colour Grading RGB and Hue Curves
-
Accessing the Curves Menu
-
Plotting Colour Values when Adjusting Curves
-
Modifying Red, Green, and Blue Channels
-
Modifying Hue, Saturation, Luminance, and Lightness
-
Shifting Hue
-
Saturating and Suppressing Colours
-
Modifying Image Luminance
-
Modifying Image Lightness
-
-
– Secondary Colour Grading
-
Accessing Secondary Grading Menus
-
Secondary Layers
-
Colour Grading Secondaries
-
About Geometries
-
Accessing the Geometry Controls
-
Drawing Basic Geometries
-
Drawing Free-Form Geometries
-
Modifying Geometries
-
Adding a Split Screen
-
Adding and Deleting Axes
-
Changing the Priority Order of Geometries
-
Showing and Hiding Geometries
-
Inverting Geometries
-
Deleting Geometries and Resetting Secondaries
-
Linking Geometries across Secondary Layers
-
Creating a Secondary by Keying a Range of Colours
-
Saving and Loading Key Presets
-
Working with Mattes
-
Shape Tracker
-
Animating the Point Tracker
-
Loading Tracker and Stabilizer Data from Autodesk Applications
-
Loading Garbage Mask Setups from Autodesk Applications
-Creating Lustre Sparks Effects
-
Installing Lustre Sparks Plugins
-
Lustre Sparks Plugin Descriptions
-
Creating an Effect with a Lustre Sparks Plugins
-
Disabling and Re-enabling Lustre Sparks Plugins
-
Developing Lustre Sparks Plugins
– Animation
-
Accessing the Channel Editor
-
Animation Curves Window
-
Channel Hierarchy
-
Animation Controls
-
Animation Options
-
-
Animating with Keyframes
-
Selecting Channels
-
Adding Keyframes
-
Setting Interpolation
-
Setting Extrapolation
-
-
Editing Keyframes
-
Selecting Keyframes
-
Modifying Your Animation
-
Synchronizing Keyframe Functionality
-
Breaking Tangent Handles
-
Resetting Tangent Handles
-
Hiding Tangent Handles
-
Applying Curve Functions to Keyframes
-
Deleting Keyframes
-
-
Copying and Pasting Keyframes
-
About the Copy/Paste Keyframe Controls
-
About Copy/Paste Keyboard Shortcuts
-
Copying and Pasting Keyframes on the Current Frame
-
Copying and Pasting All Keyframes in a Shot
-
Copying and Pasting a Selection of Keyframes
-
Copying and Pasting Over a Selection of Keyframes
-
Pasting a Keyframe Sequence That Exceeds a Shot Boundary
-
Guidelines for Geometries, Point Trackers, and Effects Plugins
-
-
The Track Editor
-
Accessing the Track Editor
-
Selecting Tracks
-
Adjusting Animation Timing
-
Adjusting Animation Scaling
-
-
Animating in Other Menus
-
Undoing and Redoing Operations
-Stereoscopy
-
Creating a Stereoscopic Project
-
Enabling Stereoscopy
-
-
Setting Up the Stereoscopic Footage
-
Assembling a Stereoscopic EDL
-
Repositioning the Left Eye and Right Eye
-
-
Using the Floating Window
-
Viewing From One Eye to the Other
-
Viewing Stereoscopic Footage in Dual View
-
-
Synchronizing the Left and Right Eye
-
Editing the Stereoscopic Timeline
-
Grading Stereoscopic Footage
-
Working with Grade Files
-
Bypassing Menu Parameters of an Eye
-
-
Rendering Stereoscopic Footage
-Rendering
-
Rendering Shots
-
Specifying the Shots to Render
-
Setting the Resolution for the Render
-
Resizing Shots
-
Specifying the Destination for Local Render Files
-
Rendering the Multi-Layer Timeline
-
Rendering Dust Metadata
-
Burning Timecode into the Render
-
Rendering with the Viewing LUT
-
Rendering Head and Tail Frames
-
Specifying the Output Format of the Render Files
-
Setting Colour Space Options
-
Specifying the Output Colour Space
-
-
Rendering the Selected Region
-
-
Generating and Viewing Proxies
-
Generating Proxies for Matte Media in Multi-Channel Clips and Matte Containers
-
-
Locking Colour Grading
-
Cleaning Up Render Files
-
Rendering Shots as You Work
-
Using Multiple ShotReactor Servers
-
-
Rendering with Burn for Lustre
-
Remote Rendering with Burn and Wiretap
-
Starting Backburner Manager
-
Submitting a Remote Render Job
-
Monitoring the Render Tasks with Backburner Monitor
-
Command Line Renderer
-
-
Rendering Grades Created in Releases Prior to Lustre 2011 Extension 1
-
About Lustre Reactor
-
Matte Rendering
-
Supported Configurations
-
-Media Export
-
The Format Options Tab
-
Format Options Tab – Video Settings
-
Format Options Tab – Audio Settings
-
-
The Resize Tab
-
The LUT Options Tab
-
Export Versions
-
Using Export Templates
-
Export Workflows
-
Stand-Alone Wiretap Gateway Server Configuration for Media Encoding
-Video Capture and Video Playout
-
About Audio Tracks
-
Capture Menu Options
-
Controlling the VTR
-
Capturing Material
-
Selecting a Raster for Capture
-
Removing Pulldown when Capturing
-
Setting In and Out Points
-
Capturing from Timecode
-
Capturing Media with Timecode Breaks
-
Logging and Batch Digitizing
-
Auto-conforming an EDL
-
Performing a Live Capture from a Non-Controlled Source
-
-
Playout Menu Options
-
Playing Out to a VTR
-
Playout Workflow
-
Selecting a Raster for Playout
-
Defining In and Out Markers when Playing Out to Tape
-
Recording in Insert Mode
-
Recording in Assemble Mode
-
Recording in Record Mode
-
VTR Emulation
-
-
Writing Telecine-Style Tape
-
Playout and GPU Acceleration
-
Creating Real-Time Deliverables from the Timeline or Rendered Material
-
Playout from Timeline with GPU Acceleration
-
-
About 3:2 Pulldown
-
Converting Logarithmic to Linear
–Audio
-
Audio Workflow
-
Importing an Audio File
-
Importing Audio From Wiretap
-
-
Capturing an Audio File
-
Playing Back Audio with the Timeline
-
Audio Monitoring Options
-
Offsetting the Audio File
-
Sync Options
-
-
Playback Using the LTC Chase Option
-
Use Explicit Timecode
-
-
Playout of Audio and Video
-Working with Wiretap
-
Working with Wiretap Timelines
-
Wiretap Timelines and Soft-Imported Media
-
Wiretap Timelines and Wiretap Gateway Media
-
Optimising Wiretap Playback Speed
-
Rendering to Wiretap
-
Points to consider before working with Wiretap
-
Supported Filesystems and Media Types
-
Sample Workflows
-
Preparing the Wiretap Timeline for Lustre
-
Configuring Wiretap and Lustre
-
Setting Up the Lustre Wiretap Project
-
Browsing for Remote Footage
-
Importing the Wiretap Timeline
-
Dust Bust and Marry Grade
-
Working with Soft-Imported Media
-
Working with Stereoscopic Wiretap Timelines
-
Rendering Shots
-Keyboard Shortcuts
-
Storyboard Navigation
-
View Modes
-
Timeline Sort Modes
-
Notes
-
Calculators
-
Dust Removal
-
Grain Removal
-
Editing
-
Global Editing Shortcuts
-
Edit Menu Shortcuts
-
Timeline Menu Shortcuts
-
VTR Capture & Playout Menu Shortcuts
-
-
Colour Grading
-
Global Colour Grading Hotkeys
-
Grade Bin Hotkeys
-
Expanded Grade Bin Hotkeys
-
Secondary Layers Hotkeys
-
Curves Menu Hotkeys
-
Secondaries Menu Hotkeys
-
Timeline Menu Hotkeys
-
-
Numeric Keypad
-
Colour Menus Grading and Secondaries
-
Curves Menu — Hue, Lightness, Saturation and Luminance
-
Editing Menu Edit
-
Editing Menus—Capture and Playout
-
-
Stereoscopy
-
Animation
-
Colour Management
-
Control Panel
-
CDL
-
Miscellaneous Functions
MEDIACOMPOSER
Media Composer 101
- Launch Media Composer
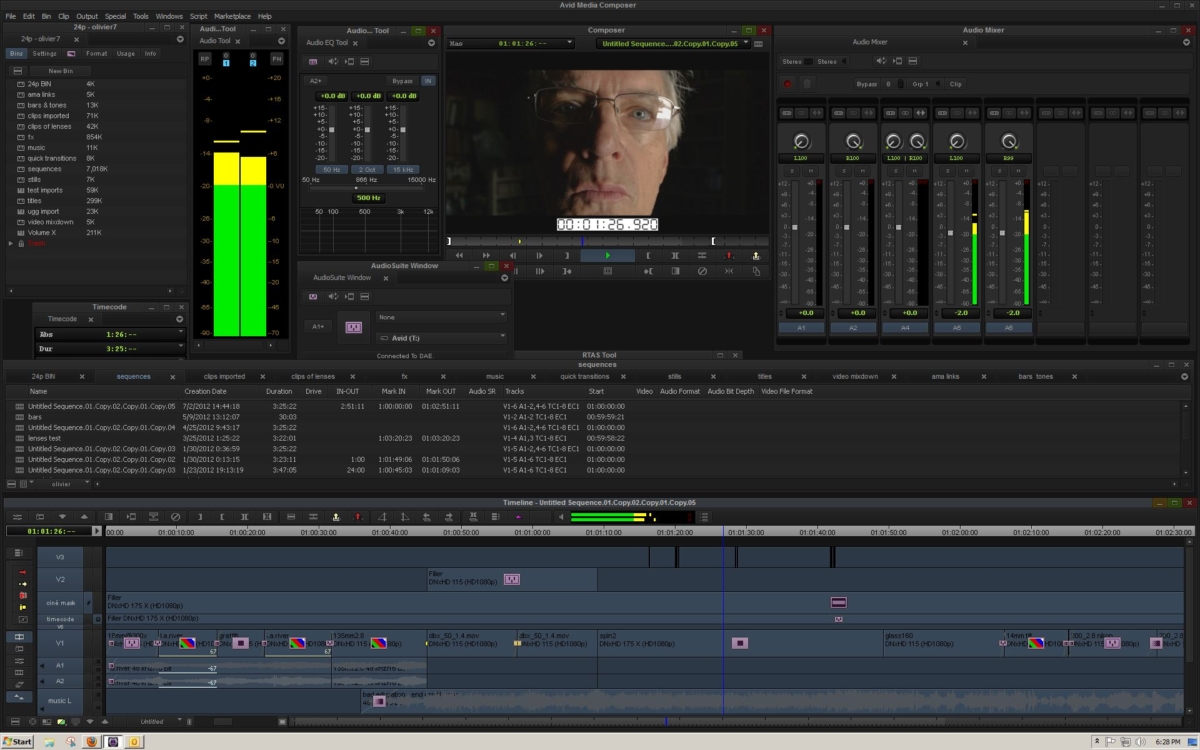
- Identify and understand the function of the primary Media Composer tools and windows
- Create/Open a project using standard SD and HD formats
- Import/Link to media
- Create project bins, as needed
- Organize clips by moving them from one bin to another
- Create a sequence, and add or remove tracks as needed
- Add clips to the sequence using Splice and Overwrite, or equivalent SmartTool functions
- Remove sequence material using Lift and Extract, or equivalent SmartTool functions
- Use Trim mode and SmartTool trim tools to change the length of sequence clips
- Adjust the audio level (clip gain) of clips in the sequence
- Add basic effects to sequence clips
- Add transition effects to the sequence
- Create and add static titles
- Use automatic color correction to improve the appearance of video clips
- Export the finished sequence as a high-quality video file, or for uploading to the web
- Adjust basic settings relating to the media creation and user preferences
- Locate Media Composer project and media files
- Delete unwanted media files, and all media at the completion of the edit process
Media Composer 110
- Create custom project sizes, including larger than HD (2K, 4K, etc)
- Understand the operational implications of working in larger-than-HD projects
- Link to media files and copy, consolidate or transcode the media, as needed
- Synchronize video and audio from separate sources
- Organize project bins using common industry conventions
- Quickly assemble a scene using storyboard editing, plus Top, Tail and Extend
- Use various search tools to locate a desired clip
- Create multiple versions of a sequence to track the creative process
- Utilize Media Composer’s best-in-class trim tools to dynamically adjust the pacing of a scene
- Adjust Clip Gain, and utilize Pan and Volume automation to create an integrated audio mix
- Create pan-and-zoom style “camera” moves over still images or video
- Solve common image problems with effects to stabilize the image, blur faces and logos, and erase unwanted jump cuts
- Create freeze-frames, slow-motion and TimeWarp effects
- Use multilayer effects to create split-screens, superimposed images, and more
- Composite video elements using the SpectraMatte effect to create a chroma-key
- Intelligently render effects sequences to improve playback performance
- Selectively delete unwanted render files to keep the media drives clutter-free
- Understand how to correctly backup project files and associated media files
- Restore lost work using Avid’s autosave feature
- Relink media files
- Resolve common technical issues, including “Media Offline”
- Identify and adjust common Settings to increase efficiency and avoid complications
- Output the finished program according to common broadcast delivery standards
NUKE STUDIO
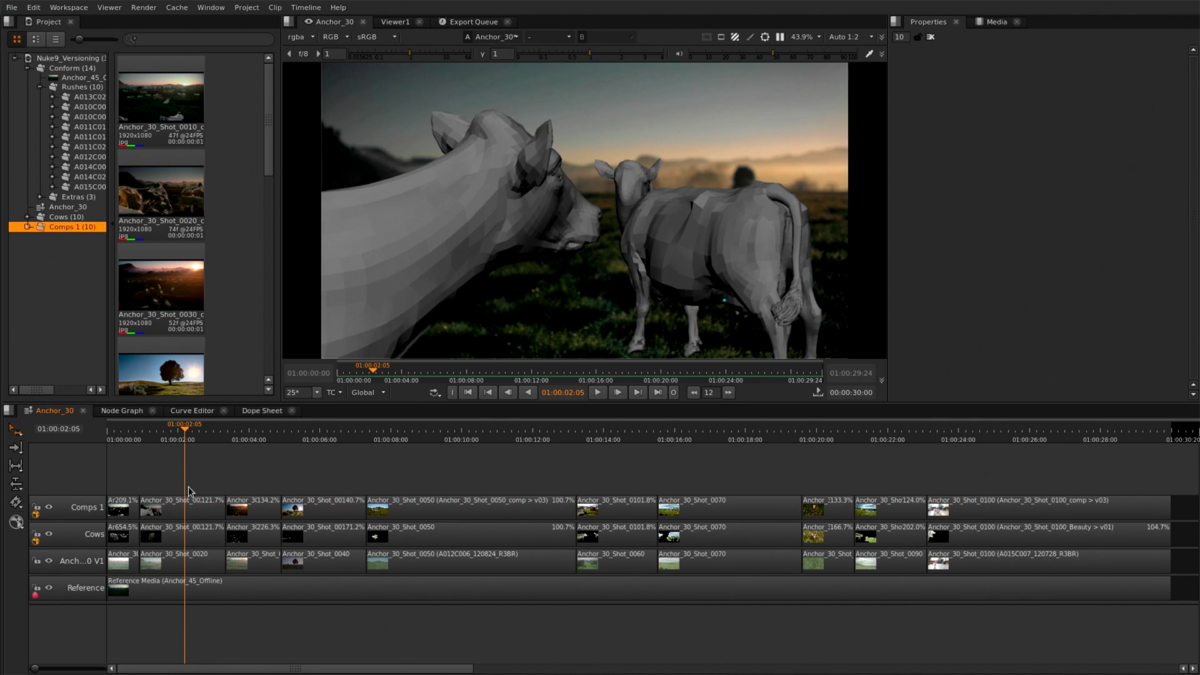
- What Is NUKE Studio?
- Determining the Project Settings and Importing Clips into NUKE
- Using the Editing Tools on the Timeline
- Using Soft Effects to Match the Colors of Clips
- Getting Started with Annotations
- Creating a Comp
- Setting up the Beginnings of a Node Tree
- Understanding Versioning in NUKE
- Creating Camera Shake and Adding to the Composite
- Animating the Smoke Using Gridwarp
- Jumping Back to the Sequence View and Rendering a Comp
- Tracking and Solving Our Second Shot
- Creating Placeholder Geometry and Writing an Fbx
- Compositing Our Rendered Passes
- Creating Motion Blur and Color Correcting the Passes
- Adding a Few Rock Interactions with the Dragon
- Using the 3D Data to Create Ground Destruction
- Adding a Ground Fire
- Using Kronos to Re-time Footage
- Creating the Image for a Particle
- Setting up a Particle System
- Changing the Color, Alpha, and Size of the Particles Over Time
- Checking out the New Particlebounce Geometry Input
- Adding Ambient Smoke with Noise
- Color Correction Within the Shot
- Making a Few Adjustments to the Shots
- Continuing to Make the Tweaks
- Using the Planartracker
- Writing a Sequence from the Timeline
NUKE X
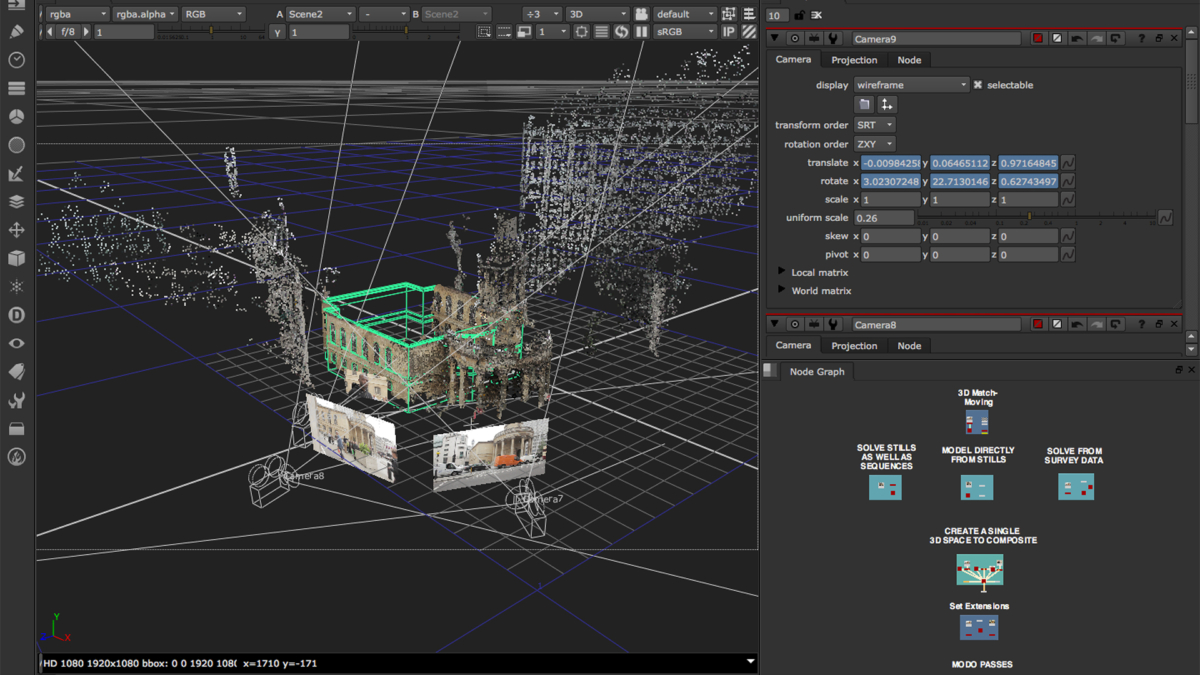
- User Interface Basics and Reading Images into NUKE
- Playing Back Videos and Changing Project Settings
- What Is Merging?
- Creating a Basic Track
- How Do We Move Images in Our Frame?
- What Is Rotoscoping?
- Color Correction
- Using the Rotopaint Node to Clean Footage Errors
- Editing a Difficult Track to Use for the Gun Flare
- Creating a Flare Node for the Gun
- Setting and Moving Keyframes
- Combining the Blur and Roto Nodes for Depth of Field
- Organizing Your Node Tree
- Writing Images out of NUKE
DAVINCI RESOLVE
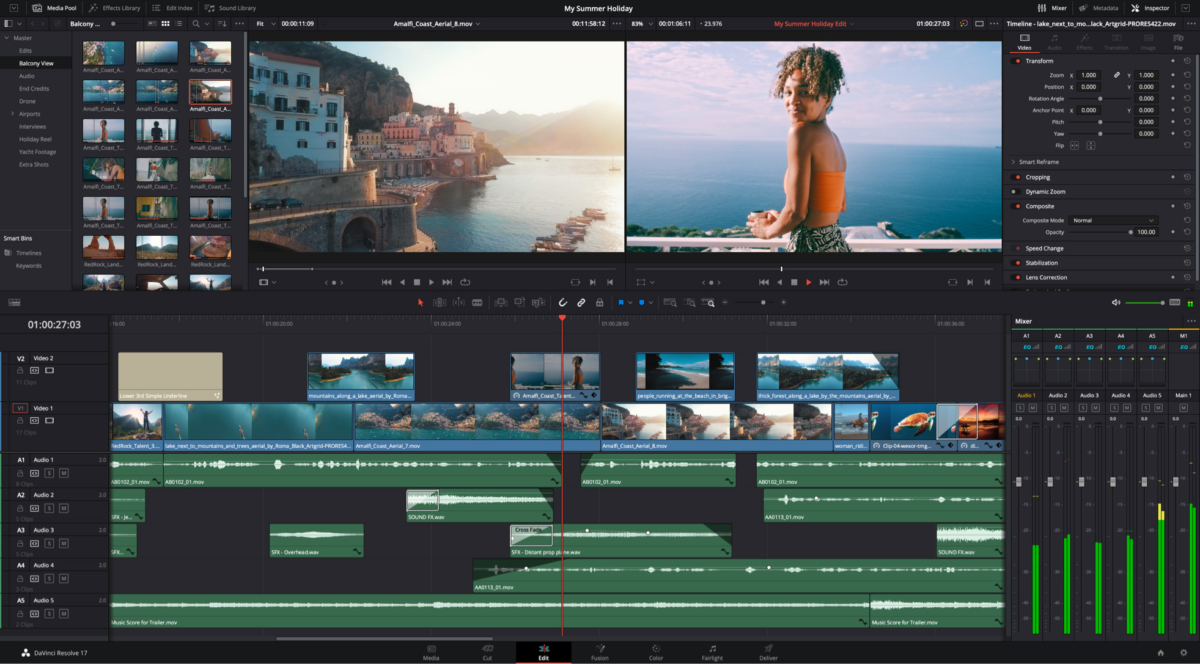
- General Color Grading Knowledge
- Exploring Contrast in Color Basics
- Utilizing the Color Wheel Related to Hue and Saturation
- Analyzing Clips and Reading Scopes
- Introduction to Resolve 16
- Examining the Media Page
- Exploring at the Edit Page
- Discovering the Edit Page Advanced Features
- Introduction to the Color Page
- Discussing Basic Grading on the Color Page
- Staying Organized Within the Color Page
- Exploring Node Workflow, Windows, and Shapes
- Tracking and Stabilizing on the Color Page
- Isolating Qualifiers for Color Grading
- Exploring Miscellaneous Features on the Color Page
- Animating Grades and Keyframing
- Group Grading and Versions
- Managing Gallery Workflow
- Delivery and Rendering

